Tuesday, 15 October 2013

A gaming table Ruin - part 5

Tonight I worked a bit on the walls texture, I wanted the to look less flat and more rock like. I started by preparing all the colours I will use on the palette, thinning them down to a wash consistency:


I started with a single wall section on the back of the ruin. Here is the wall as we left it yesterday...


 ... and this is how it look right now:


I still need to work on the final shadows and highlights but I really like how the wall turned out.

Here are the other wall sections I completed tonight:


Monday, 14 October 2013

A gaming table Ruin - part 4

Hi guys,
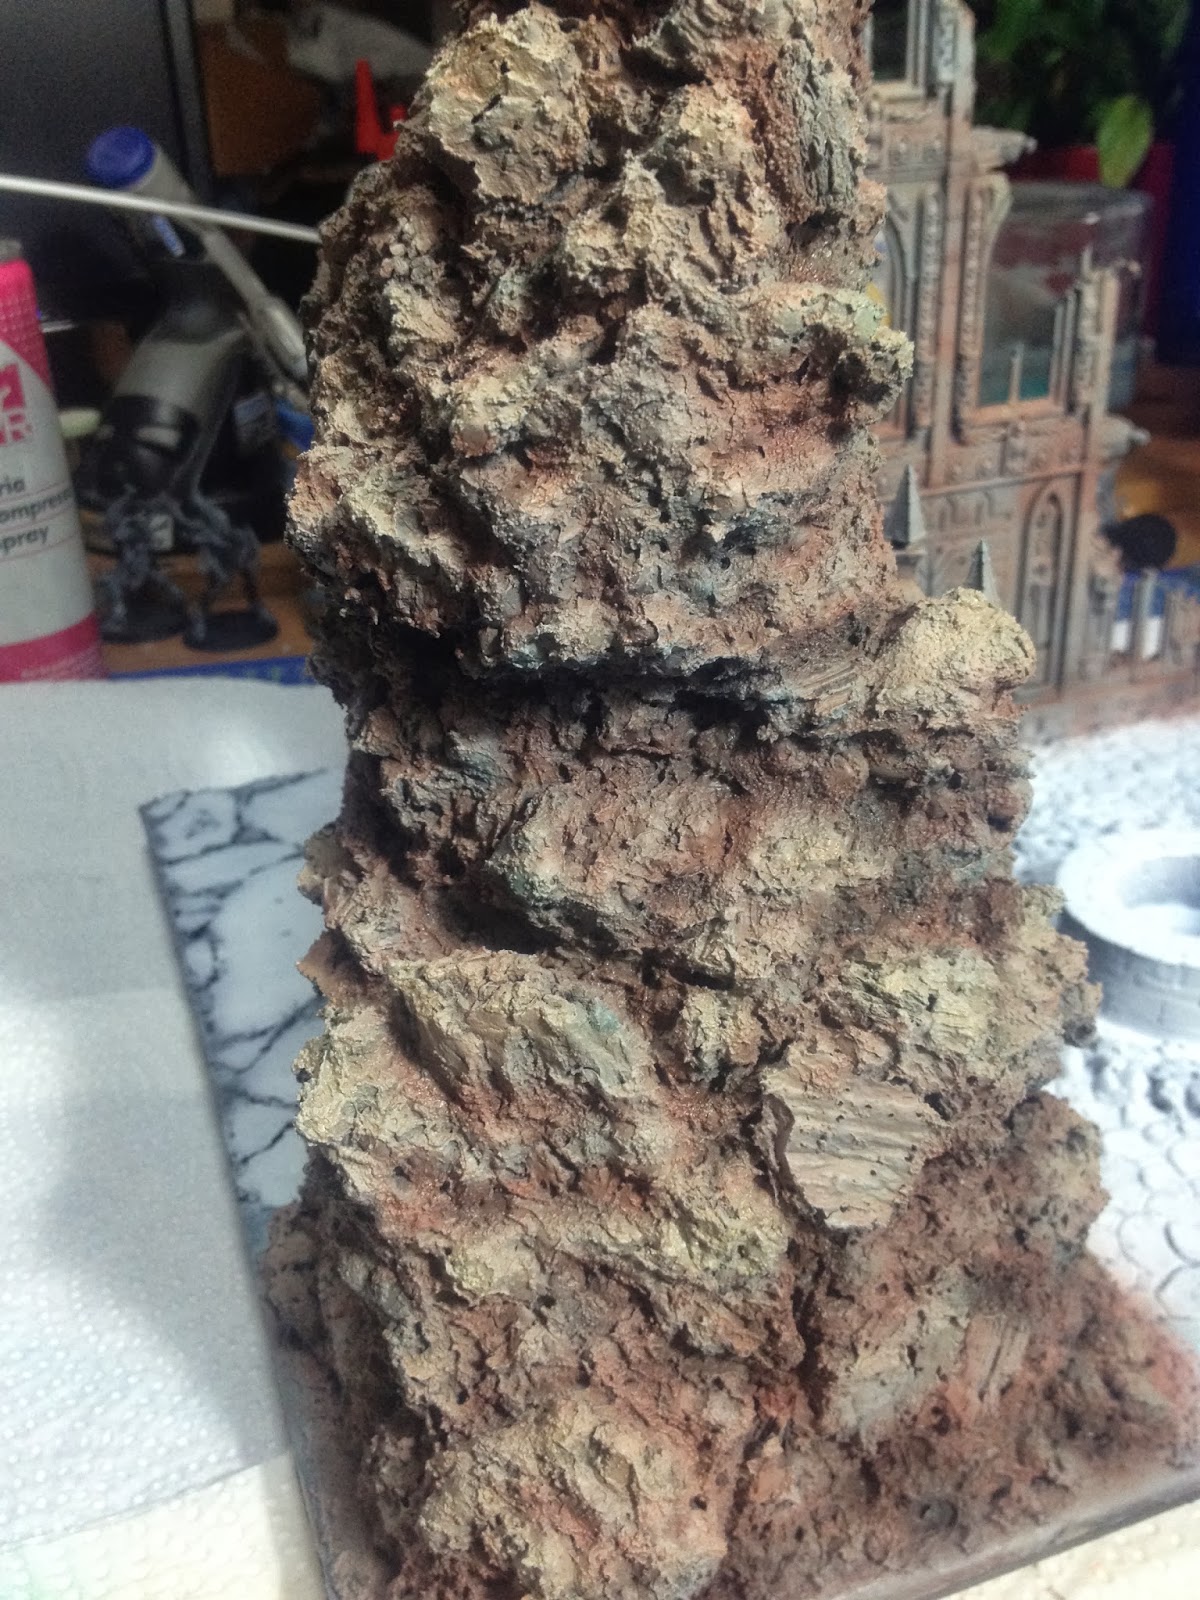
today I put down the basic colour work on the ruin walls and pretty much completed the paint work on the rocky spots

I started by base coating the rocks and the walls with a 3:1 mix of Astronomican Grey and Caltan Brown. For what I'm planning for the courtyard I need a white undercoat so I put that down now, so to not damage the painted walls later


For the next step, I overbrushed Vallejo Light Gray all over the previous coat


Then I applied very light glazes of colours using a mix of Caltan Brown and Blazing Orange, pure Blazing Orange, Pale Yellow and Liche Purple


The last step was a series of diluted wash applied on the the rocky surface to gave it more definition and some colour nuance


Thursday, 10 October 2013

A gaming table Ruin - part 3

Another quick update, showing the ruin after a first coat of black primer was applied:


Tuesday, 8 October 2013

A gaming table Ruin - part 2.5

Just a little update guys: I've added a bit of texture to the fire-pit in the courtyard to make it look more.. fire-pitly


Tomorrow: priming!

Monday, 7 October 2013

A gaming table Ruin - part 2

Work on the ruin continues!

The front yard is taking shape and I also added some pieces of cork on the mountain surface to add a bit of interest


I then started to build a cobblestone paving to cover the surrounding areas


For the floor inside the ruin I used many flat tiles of different shapes and sizes made of DAS, a modelling putty.


I then covered the rocky bits with Vallejo Black Lava to give those areas a rough texture similar to real rocks


The last step was to use Vallejo Oxid Paste on all the edges and the floors to simulate rubble and erosion. I added some also on the rocks to add more texture here and there


And now to painting!