Hi guys,
today I put down the basic colour work on the ruin walls and pretty much completed the paint work on the rocky spots
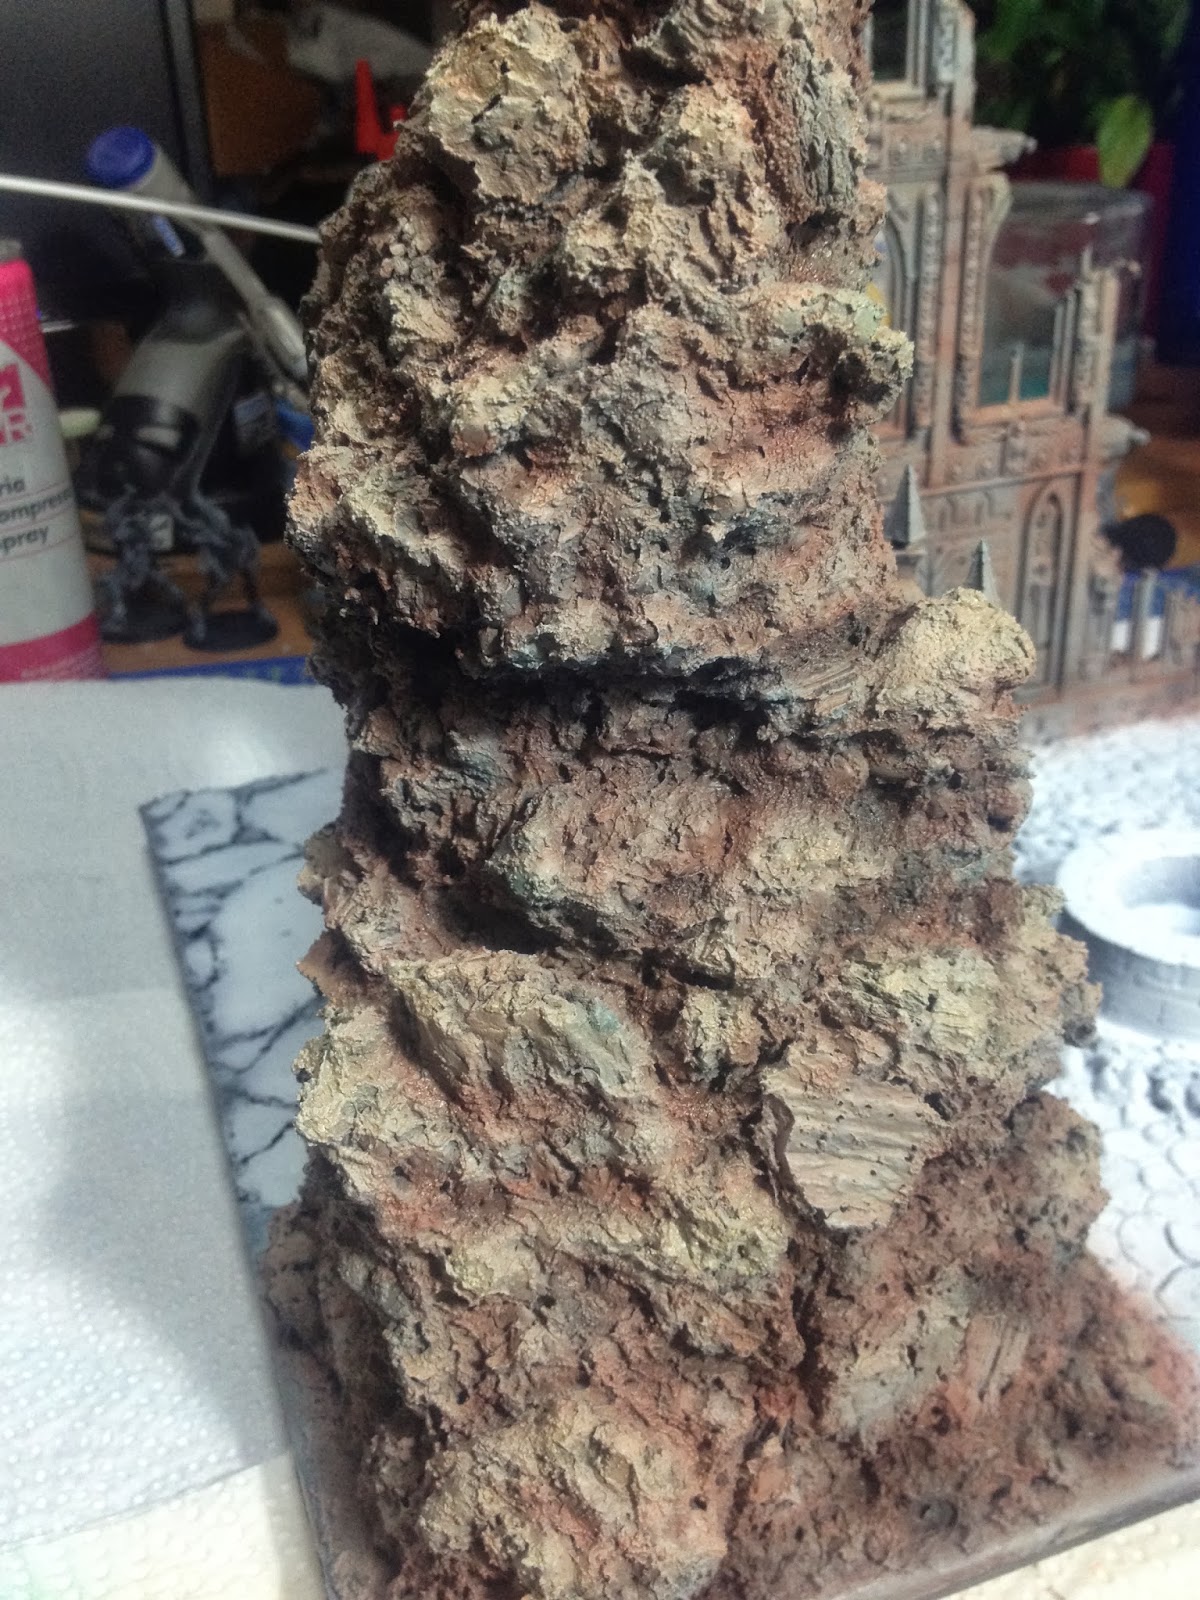
I started by base coating the rocks and the walls with a 3:1 mix of Astronomican Grey and Caltan Brown. For what I'm planning for the courtyard I need a white undercoat so I put that down now, so to not damage the painted walls later
For the next step, I overbrushed Vallejo Light Gray all over the previous coat
Then I applied very light glazes of colours using a mix of Caltan Brown and Blazing Orange, pure Blazing Orange, Pale Yellow and Liche Purple
The last step was a series of diluted wash applied on the the rocky surface to gave it more definition and some colour nuance