Thursday, 31 October 2013

Tau allied detachment

Hi guys!

After the completion of the Imperial Ruin I started working on a Tau allied detachment for my Eldar army. I'm still working on the fine details of the army list but I'm pretty much sold on the following units:
  • Tau Commander: it bring so much on the table as a support unit and I think it will work very well with a couple of Eldar units I've in mind
  • XV104 Riptide Battlesuit: awesome firepower on highly-mobile MC that could tag-team with my Wraithknight
  • Kroot Carnivore Squad: a solid troop choice (as far as a Tau can be) that can bring some shoots in late game turns or act as meat shield for a high-profile unit

Models-wise I'm currently painting the Riptide: here it is after the first layers of colours were applied. I did not like the puny little head that comes standard with the kit so I've built it a new one trying to achieve the same look of the XV-9 battlesuits from Forge World


Speaking of XV-9 battlesuits: Shas’o R’alai was gentle enough to drop in and act as my Tau Commander: 


I'm probably going to complete the Riptide before starting to paint the Commander but ... we will see :)


Tuesday, 29 October 2013

A gaming table Ruin - project complete!

And it's finally done!


Tuesday, 22 October 2013

A gaming table Ruin - part 7


In the last couple of days I completed the main work on the walls finally! I went back in with the airbrush to bring back colours in a couple of spot where they got dulled down a bit


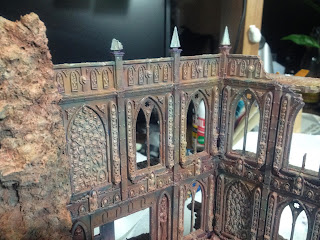
Next I started on the details: I'm going for a oxidized copper look so I started with a base coat of Scorched Brown followed by VMA Copper mixed with a bit or red


Tomorrow: more copper!

Thursday, 17 October 2013

A gaming table Ruin - part 6

Worked on the ruin again tonight, the walls on the back are now ready for the final shadows and highlights and, after those, times for details!


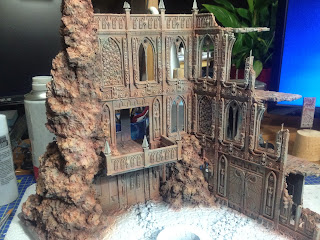
I also started to work on the front walls:


Are they a bit too dark?


Tuesday, 15 October 2013

A gaming table Ruin - part 5

Tonight I worked a bit on the walls texture, I wanted the to look less flat and more rock like. I started by preparing all the colours I will use on the palette, thinning them down to a wash consistency:


I started with a single wall section on the back of the ruin. Here is the wall as we left it yesterday...


 ... and this is how it look right now:


I still need to work on the final shadows and highlights but I really like how the wall turned out.

Here are the other wall sections I completed tonight:


Monday, 14 October 2013

A gaming table Ruin - part 4

Hi guys,
today I put down the basic colour work on the ruin walls and pretty much completed the paint work on the rocky spots

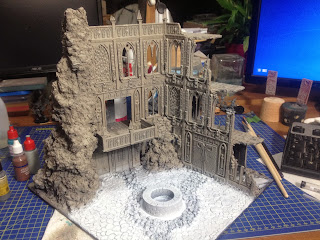
I started by base coating the rocks and the walls with a 3:1 mix of Astronomican Grey and Caltan Brown. For what I'm planning for the courtyard I need a white undercoat so I put that down now, so to not damage the painted walls later


For the next step, I overbrushed Vallejo Light Gray all over the previous coat


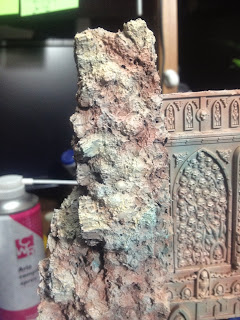
Then I applied very light glazes of colours using a mix of Caltan Brown and Blazing Orange, pure Blazing Orange, Pale Yellow and Liche Purple


The last step was a series of diluted wash applied on the the rocky surface to gave it more definition and some colour nuance